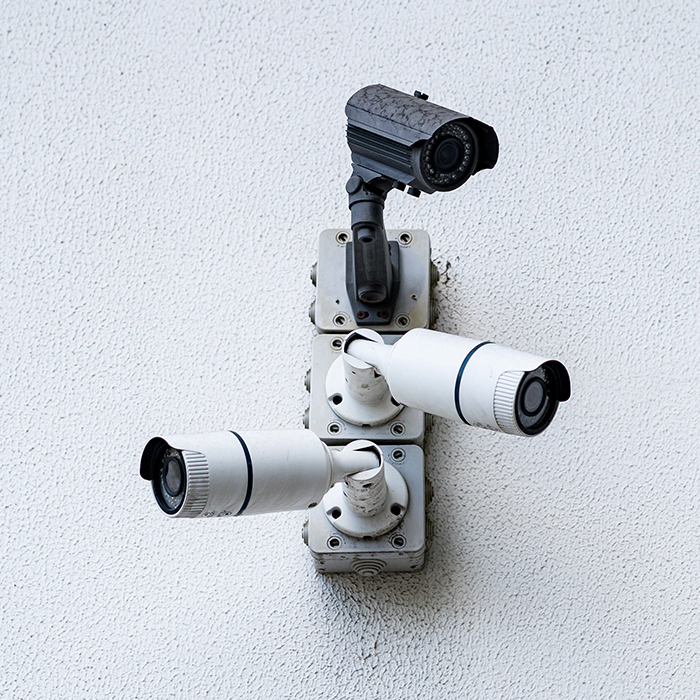
The right mount decides what your camera sees. Camrelo security camera mounts and brackets hold bullet, dome, turret, and PTZ cameras at the correct height and angle, with wall, ceiling, and pole options, junction boxes for tidy cabling, and weather-ready housings for outdoor use. Pick the mount that matches your camera and your surface, and installation and maintenance get easier.
Product Specification
| Specifications | Description |
|---|---|
| Product Type | Security Camera Mounts |
| Mounting Types Options | Wall mount, ceiling mount, and pole mount |
| Wall Mount Camera Bracket | Compatible designs and sizes are available |
| Ceiling Camera Mount | Ideal for compatible ceiling-mounted cameras |
| Camera Accessory Junction Box | Supports compatible junction boxes for mounting and cable management |
| Camera Accessory Pole Mount | Designed for compatible pole-mounted installations |
| Camera Housing | Model-dependent protective housing options |
| Constructed with | Varies by model, may include aluminum alloy, steel or durable polymer |
| Camera Compatibility | Relies on camera model, mounting pattern and accessory specifications |
| Installation Places | Wall, ceiling, pole or other approved mounting surface, depending on product |
| Cable | Available on selected brackets and junction boxes |
| Indoor/Outdoor Use | Depends on the accessory’s material, weather resistance and rated application |
Camrelo mounts fit Camrelo bullet, dome, turret, and PTZ cameras and help you get clean cable routing, a stable position, and easier maintenance. Choose a wall bracket for building exteriors, a ceiling mount for interiors, a pole mount for parking lots and fence lines, or a junction box to hide and protect connections.
Outdoor mounts are built from [aluminum alloy / stainless steel] with a weather-resistant finish, so they hold up to Houston’s humidity, heavy rain, and storms without rusting or shifting.
Key Features & Benefits
- Wall, Ceiling, and Pole Mounting
- Adjustable Positioning (tilt and swivel)
- Junction Boxes for Clean Cabling
- Weather-Resistant Materials
- Protective Camera Housings
- Compatible With Camrelo Cameras
- Stable, Tamper-Resistant Hold
- Easy Installation and Maintenance
How to Choose a Security Camera Mount
The right mount depends on five things. Check each one before you buy.
1. Camera type
Mounts are built around a camera’s shape and mounting pattern, so start here.
- Bullet cameras: Usually attach to a wall or pole bracket, often with a swivel arm.
- Dome and turret cameras: Mount flat to a ceiling or wall, sometimes with a junction box behind them.
- PTZ cameras: Are heavier and need a mount rated for their weight, often a pole or wall arm.
2. Mounting surface
The surface decides which anchors and bracket you need.
- Brick and concrete: Use masonry anchors and a drill with a masonry bit.
- Wood: Screw directly into studs or solid framing for a secure hold.
- Stucco, siding, or drywall: Find a stud or use heavy-duty anchors, since the surface alone can’t hold a camera.
- Ceilings: Use a ceiling mount or junction box fastened to a joist or solid backing.
- Poles: Use a pole mount that fits the pole’s diameter, with a strap or clamp.
3. Indoor or outdoor use
Outdoor mounts need to resist moisture, UV, and corrosion. Choose aluminum alloy with a weather-resistant finish, and an IP66 rating where connections are exposed. Indoor mounts can be lighter and simpler. Don’t use an indoor mount outside, because it will rust or crack.
4. Load capacity
The mount must hold your camera’s weight with room to spare. Check the camera’s weight against the mount’s rated capacity, and choose a higher rating for heavy cameras like PTZ or varifocal models.
5. Cable routing
Decide how the cable will run before you choose:
- Hidden routing: Pick a mount or junction box with an internal channel, so the cable runs through the bracket and into the wall or ceiling.
- Exposed routing: Use a surface-mounted bracket with a cable guide or conduit.
- Junction box: Adds weatherproof protection for connections and keeps the cable neat.
Quick Guide
| If you need to… | Choose |
|---|---|
| Mount a camera on a building exterior | Wall mount bracket |
| Mount a camera inside, flush to the ceiling | Ceiling mount or dome mount |
| Cover a parking lot, fence line, or open area | Pole mount |
| Hide and protect cable connections | Junction box |
| Protect a camera from weather or tampering | Camera housing |
Not sure which mount fits your camera and surface? Tell us the camera model and where you’re installing it, and we’ll recommend the right one.
Camera Mounting Height and Angle Guide
Where you put the camera matters as much as the camera itself. Use these starting points, then adjust for your site.
Height
- Most outdoor cameras: Mount at about 8-10 ft (2.5-3 m). That’s high enough to keep the camera out of easy reach and tampering, and low enough to capture faces and details.
- Indoor cameras: About 8-9 ft on a wall or flush on the ceiling, depending on room height.
- Entrances: Mount at the high end of the range and angle down to capture faces as people walk in.
- Don’t go too high: Above about 12 ft, faces and license plates lose detail.
- Don’t go too low: Below about 7 ft, cameras are easy to reach, block, or knock out of position.
Angle
- Tilt down about 15-30 degrees so the camera sees faces and the ground, not just the sky or rooftops.
- Aim slightly across the path rather than straight at it when you can. A head-on angle captures faces best, but a slight side angle works well at corners.
- Cover from the corner. A camera in the upper corner of a room or building sees the largest area and the most entrances.
Lighting
- Keep the camera away from direct light. Don’t point it at the sun, a window, or a bright lamp. Backlit faces turn into silhouettes.
- Place it so light falls on the subject, not behind it.
- Avoid IR reflection at night. Don’t mount close to a wall, a wire, or a surface that bounces infrared light back into the lens, since it washes out the image.
Quick checklist before drilling
- Hold the camera in position and check the live view on your phone.
- Walk the area and confirm faces are visible at the entrance.
- Check the view at night, if you can, for glare and reflection.
- Mark the screw holes, then drill and mount.
- Re-check the angle after tightening the bracket.