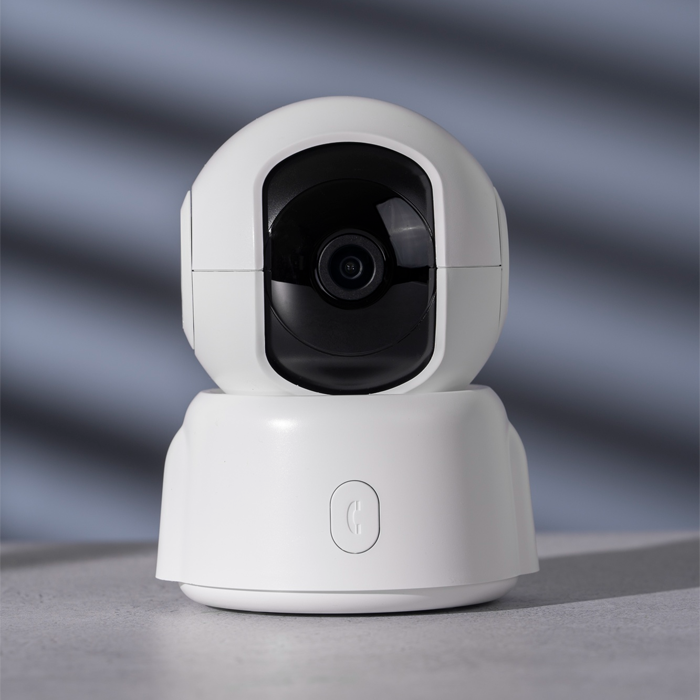
Your security recordings are only as reliable as the drive they’re stored on. Camrelo surveillance hard drives are built for 24/7 recording in NVR and DVR systems, with the sustained write performance and workload capacity that regular desktop drives lack. Choose the capacity that matches your cameras and how many days of footage you want to keep, with options from 1TB up.
Product Specification
| Specification | Description |
|---|---|
| Product Category | Security Camera Hard Drive |
| Product Name | Surveillance HDD |
| Brand | Depends on model; WD Purple options may be available |
| Storage Options | Varies by model: 1TB, 2TB, 4TB, 6TB or higher |
| Interface | SATA III, 6Gb/s, where supported |
| Form Factor | Typically 3.5-inch |
| Best For | CCTV, NVR and DVR surveillance systems |
| Recording Capabilities | Crafted for surveillance workloads, depending on model |
| Video Recording | Continuous video recording, subject to system compatibility |
| Multi-Camera Options | Depends on the HDD model, camera count, and recording configuration |
| Compatibility | Compatible SATA-based NVR/DVR systems, subject to manufacturer requirements |
| Installation | Internal installation in a compatible recorder or storage system |
Why use a surveillance drive? Standard desktop drives are built for short bursts of activity. Surveillance drives are designed to write video constantly, around the clock, and handle many camera streams at once. That means fewer dropped frames, better reliability, and a longer lifespan in a recorder that never stops.
Key Features & Benefits
- Built for 24/7 Surveillance Recording
- NVR and DVR Compatible
- Capacities From 1 TB to 16 TB
- Handles Multiple Camera Streams
- Reliable Long-Term Storage
- Easy Footage Retrieval
- Simple Internal Installation
- Help Choosing the Right Size
How to Choose a Surveillance Hard Drive
The right drive depends on how many cameras you run, how sharp the video is, and how long you want to keep it. Work through these seven checks.
- Camera count : Every camera writes video to the drive at the same time, so more cameras means more storage and more write activity. Count every camera that will record to this recorder, including any you plan to add.
- Resolution : Higher resolution creates larger files. A 4K (8MP) camera uses roughly twice the storage of a 4MP (2K) camera at the same settings. Check the resolution each camera is set to record at, which may be lower than its maximum.
- Compression : H.265 (and H.265+) compresses video much more efficiently than H.264, so the same footage takes up noticeably less space. If your recorder and cameras support H.265, turn it on before you size your drive.
- Recording mode : Continuous recording stores everything and needs the most space. Motion-triggered recording saves only when activity is detected and can extend retention a lot in quiet locations. Scheduled recording sits in between.
- Retention days : Decide how many days of footage you want to keep before it’s overwritten. Many homes keep 7-14 days, and many businesses keep 30 days or more. Longer retention means a larger drive, or more than one.
- Recorder maximum : Every recorder has a limit on drive size and the number of drive bays. Check your recorder’s manual or spec sheet before you buy. A drive larger than the recorder supports may not be recognized or may not be fully usable.
- One drive or several : If one drive can’t hold enough footage, many recorders accept two or more drives. Multiple drives also spread the load and, on some recorders, let you set one for recording and one for backup. Check the number of bays your recorder has.
Quick sizing formula
Storage needed (GB) ≈ Bitrate per camera (Mbps) × 0.45 × cameras × hours recorded per day × retention days
Tell us your recorder model, the number of cameras, and how many days you want to keep, and we’ll recommend the right drive.
Surveillance Drive vs Desktop Drive
Both are hard drives, but they’re built for different jobs.
| Surveillance drive | Standard desktop drive | |
|---|---|---|
| Designed for | 24/7 recording, constant writing | Short bursts of activity during the day |
| Workload | Handles continuous, high-volume writes from many cameras | Built for lighter, occasional use |
| Camera streams | Supports many video streams at once | Not designed for it, so it may drop frames |
| Error handling | Tuned to keep recording rather than stall on minor errors | Retries errors, which can cause gaps in video |
| Reliability in a recorder | Built to run all day, every day | Wears faster and may fail earlier |
| Best for | NVRs, DVRs, and CCTV systems | PCs and laptops |
The takeaway: a desktop drive may work at first in a recorder, but it’s a poor choice for a system that records around the clock. A surveillance-grade drive costs a little more and is far less likely to leave gaps in your footage when you need it.
Compatibility and Installation
Check compatibility first
- Interface : most recorders use SATA drives. Confirm your recorder supports SATA III (6 Gb/s) or SATA at any speed.
- Form factor: surveillance drives are usually 3.5-inch. Some compact recorders use 2.5-inch drives, so check the bay size.
- Maximum capacity:check the largest drive your recorder supports.
- Number of bays:confirm how many drives it accepts.
- Existing data: a new drive in a recorder is formatted, which erases it. Export any footage you want to keep first.
How to install a hard drive in an NVR or DVR
- Back up important footage. Export any clips you need before you start.
- Power off the recorder. Shut it down from the menu, then unplug the power cable. Never swap a drive while it’s powered on.
- Open the case.Remove the screws on the cover. Many recorders have a removable top or side panel.
- Power off the recorder. Mount the drive in the bay with the supplied screws, then connect the SATA data cable and the power cable. Match the connectors, and don’t force them.
- Close the case. Replace the cover and screws.
- Power on and format. Plug the recorder in and turn it on. Go to the recorder’s storage or disk settings, select the new drive, and format it. The recorder will not record to it until it’s formatted.
- Check recording. Confirm the drive shows as healthy, set your recording mode (motion, continuous, or scheduled), and check that new footage appears in playback.
Tips
- Use an anti-static wrist strap or touch a metal surface first to discharge static.
- Keep the recorder in a ventilated spot. Heat shortens a drive’s life.
- Connect the recorder to a UPS to protect the drive from damage during sudden power loss.
- Replace the drive when the recorder reports errors or bad sectors, and check storage health in the menu from time to time.
Not comfortable opening your recorder? Send us your recorder make and model and we’ll confirm compatibility before you buy, walk you through the steps by phone or video, or [arrange installation].
Upgrade Your Surveillance System with Reliable Video Storage
Do you require a reliable hard drive for your security camera system? Camrelo is a genuine provider of CCTV/NVR/DVR surveillance storage solutions.
Explore Surveillance Storage Solutions Now | Notify Camrelo for Assistance